If you like my page on facebook or follow me on twitter you must have seen my previous complaints about my black forest cake backfiring. It got so bad that I decided not to try again. I resulted in getting my brother to bake the cake then I do the frosting.
This past weekend we were having a bridal for a good friend of mine and I offered to bring a black forest cake. At first I had requested my brother to do the baking but on second thought I decided to ask him for his recipe. I needed to face my fears. I normally hate it when cakes back fire, though my friends think otherwise since they enjoy eating my backfired cakes, ha!
This recipe is a bit different from others that I have tried. The great thing is that it worked.
Before I go on, be warned this will be a very long post full of many photos so if you are yet to have lunch I suggest you eat first :-). Oh and another thing, making a black forest is a bit tedious, not the baking part but the layering and frosting so patience is key.
Ingredients:
For the cake;
7 medium sized eggs
220 g all purpose flour – about 1 3/4 cups
23o g sugar – about 1 1/2 cups
160 g margarine – about 3/4 cup
5 tablespoons 10g cocoa powder
1 teaspoon coffee
2.5 teaspoon of baking powder
2 teaspoon of vanilla essence
1 teaspoon of passion flavour essence – optional
For feeding the cake
2 tablespoons of icing sugar
4 tablespoons of water
Some juice – optional
For the frosting
Whipping cream
Strawberries, washed, hulled and quartered
Chocolate
Equipment
Electric mixer
wooden skewer or toothpick
Start with baking the cake.
Pre heat the oven at 180°C. Grease the baking tins and line them with grease proof paper. I used 2 9 inch round tins since I wanted the cake to have four layers.
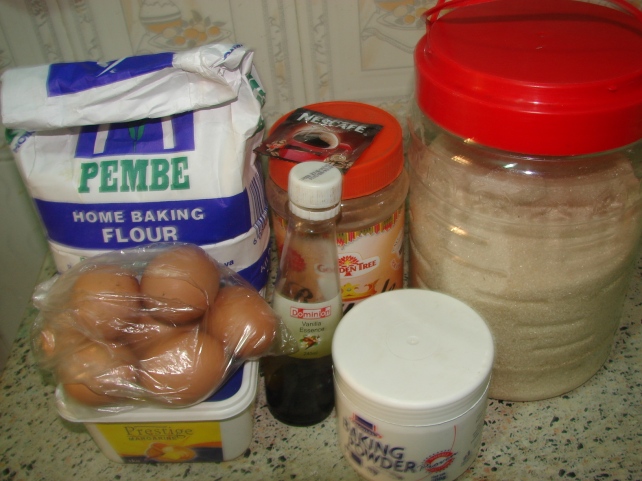
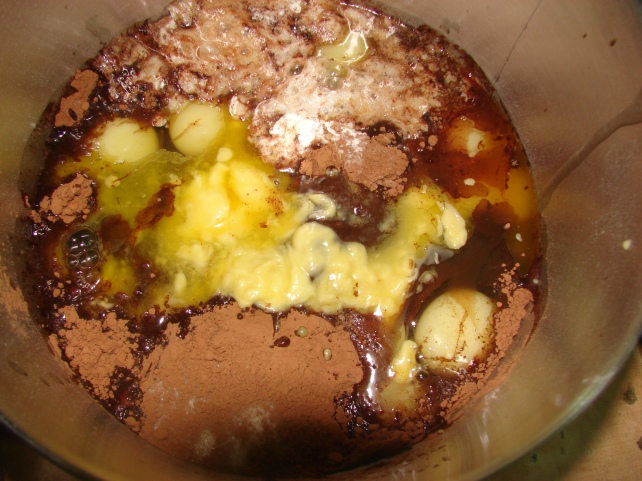
Baking this cake is pretty easy since you just dump in all the ingredients then using an electric mixer you combine the ingredients and the cake batter is ready.
Using the handy mixer…
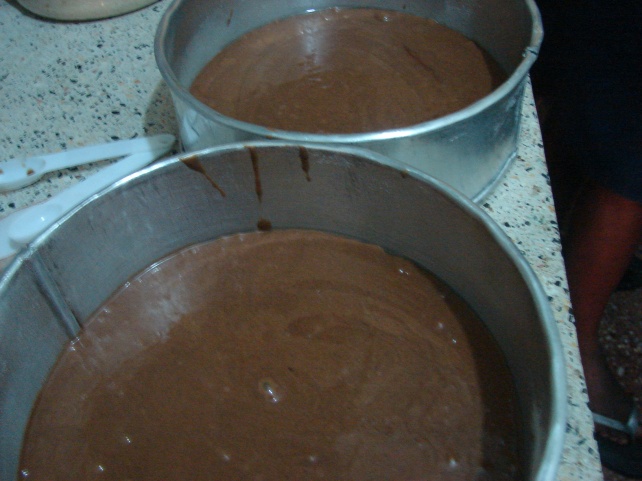
Divide the batter between the two tins. Ensure they are more or less the same.
Bake for twenty minutes or until a toothpick inserted in the centre of the cake comes out clean. I said a prayer as I put the cakes in.
Excitement!!! I was jumping up and down. The cakes had not backfired. Thank you God.
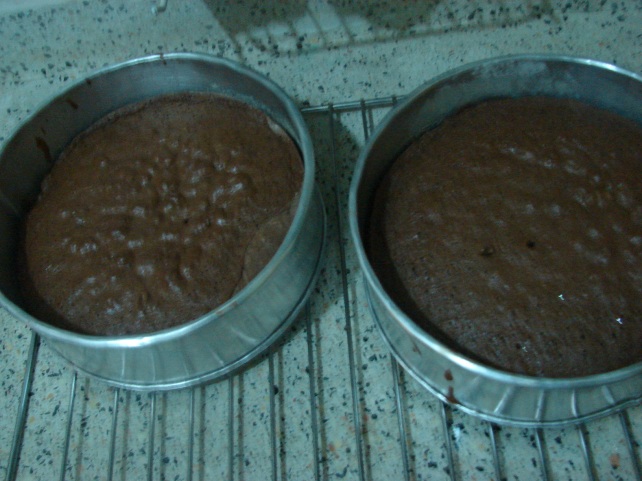
Let the cakes cool for about ten minutes then remove them from the tins to cool further.
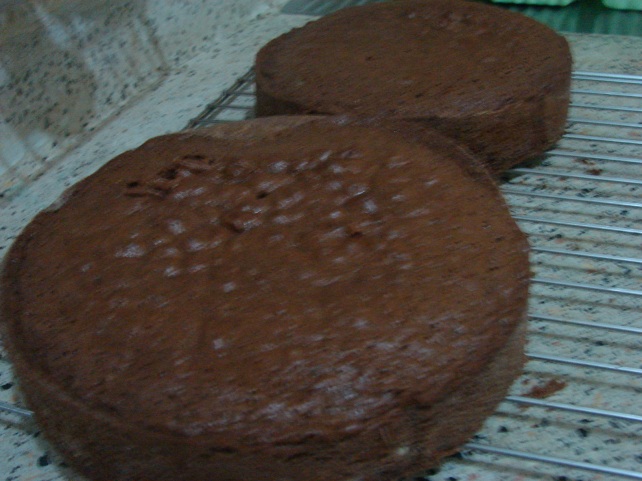
It’s advisable to let the cakes cool completely, this will come in handy when layering the cake. The crumbs won’t be as many.
I wrapped my cakes in clear cling film them I put then in the fridge.
Same day evening…
Layering and frosting.
Take one cake, I put mine on top of an overturned baking tin. This is to aid in layering the cake.
Start by leveling the cake.
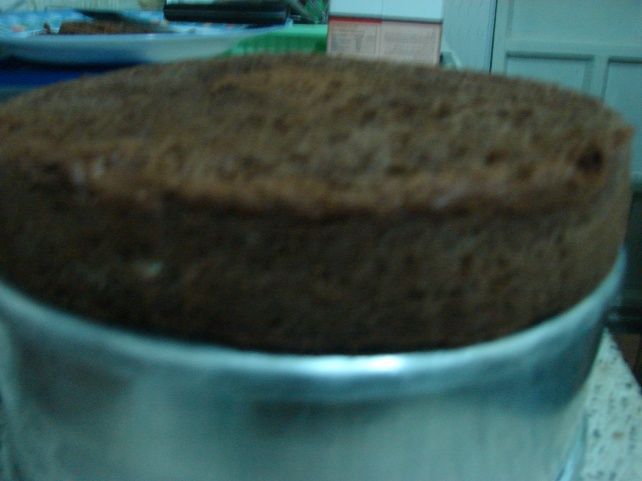
Then slice the cake in half to form two almost equal layers.
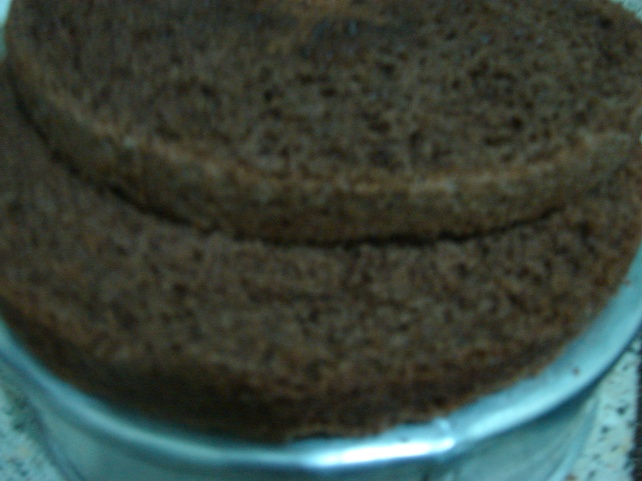
Repeat the above steps for the second cake.
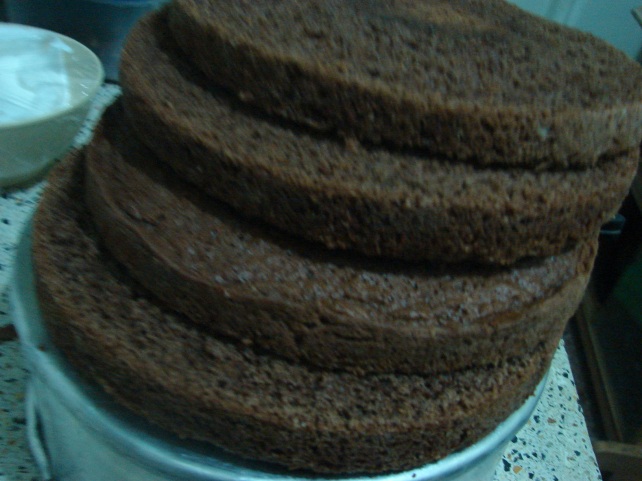
Now for the fun part.
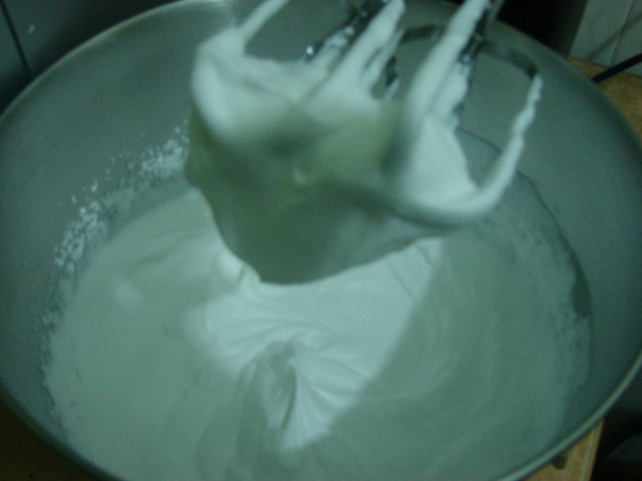
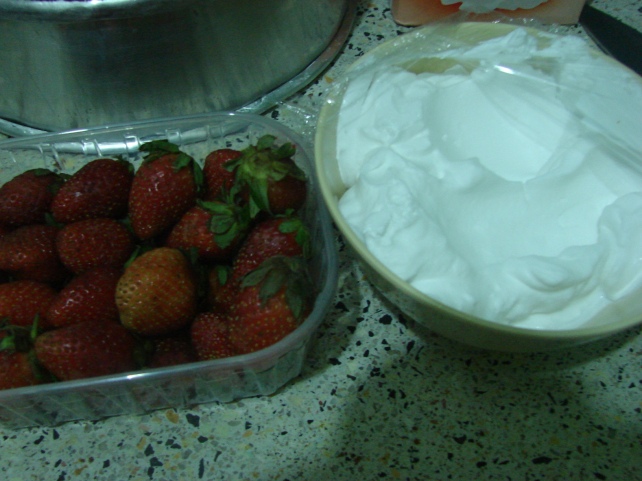
To make the sugar water, combine the icing sugar, water and juice if using. I used some orange juice that I had in the fridge. For the extra kick I guess you can put a tablespoon of rum in the mixture instead of juice.
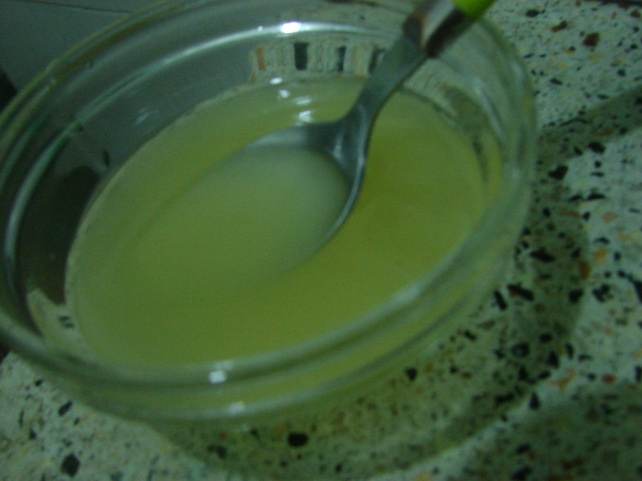
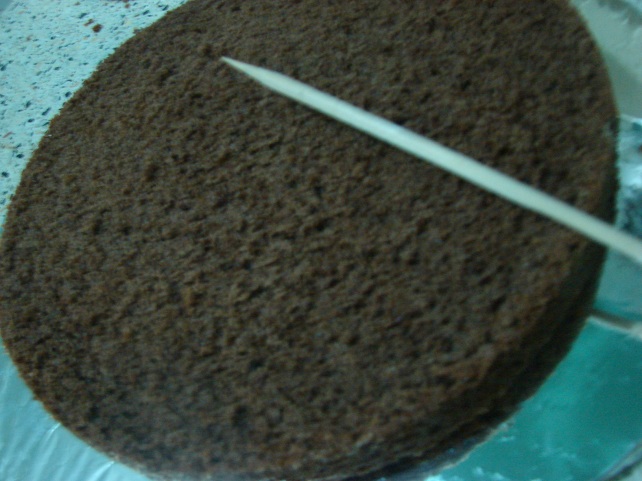
Place the bottom layer of the cake on a board, then using a wooden skewer or toothpick poke the surface of the cake.
Then drizzle about a tablespoon of the sugar water over the cake. This will feed the cake to ensure it continues to be moist and spongy.
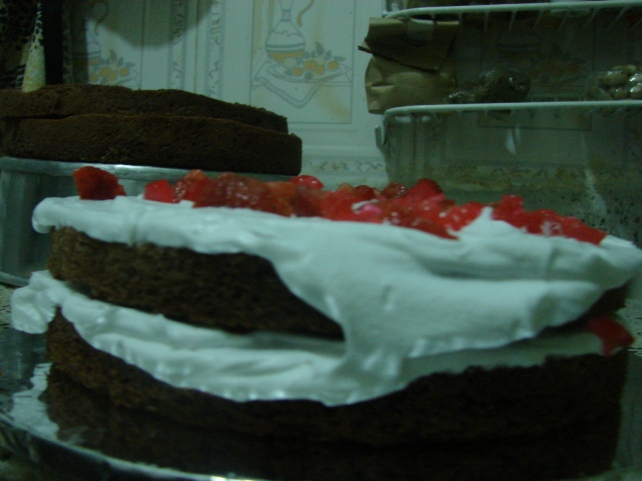
Put a dollop of whipping cream on the surface of the bottom layer.
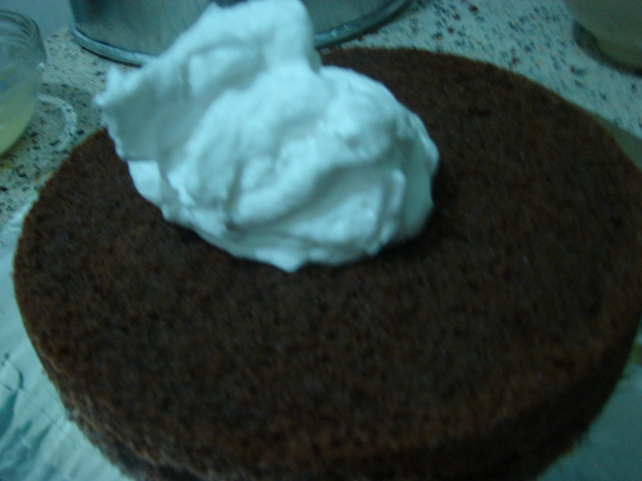
Spread it evenly on the surface of the cake.
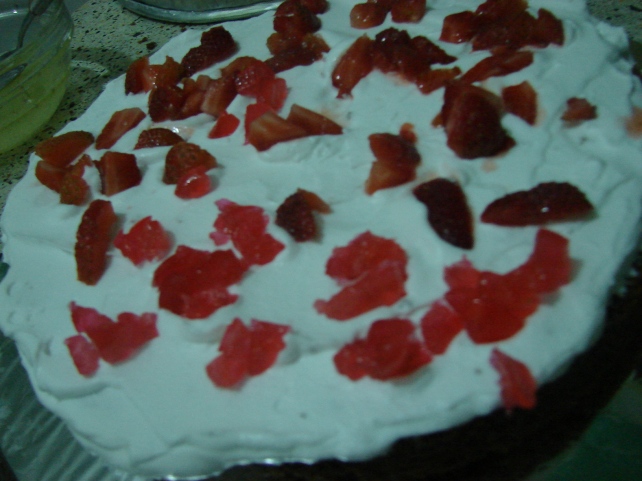
Spread the strawberries. I had some leftover cherries so I threw them in.
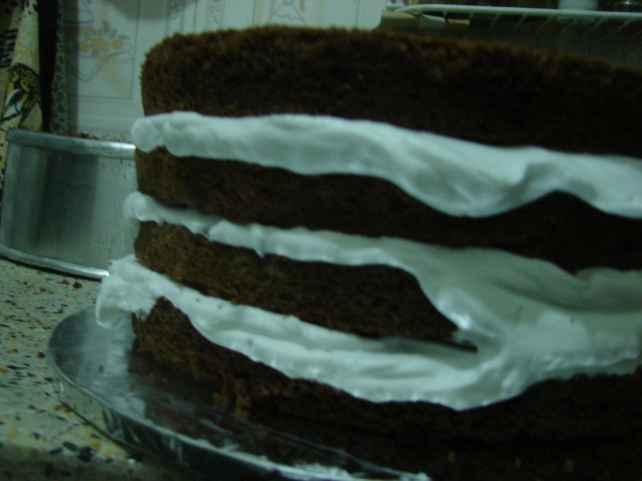
Repeat the steps for all the layers.
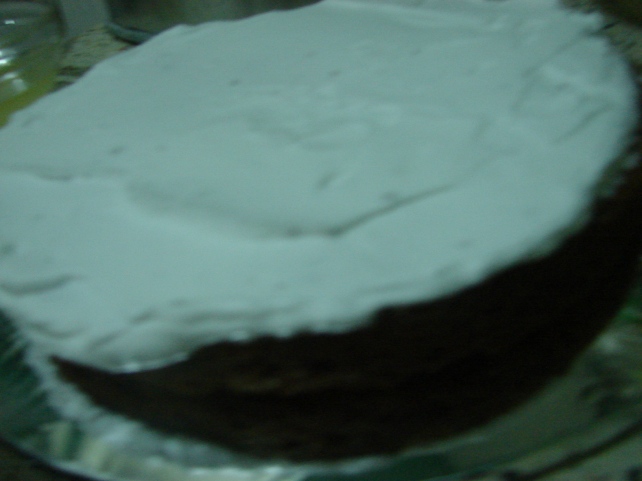
After filling in all the layers, coat the entire cake with the whipping cream.
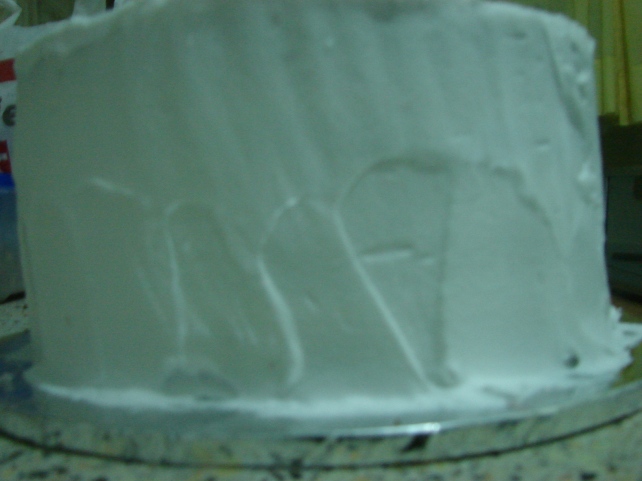
It doesn’t need to look perfect since you will pile on chocolate.
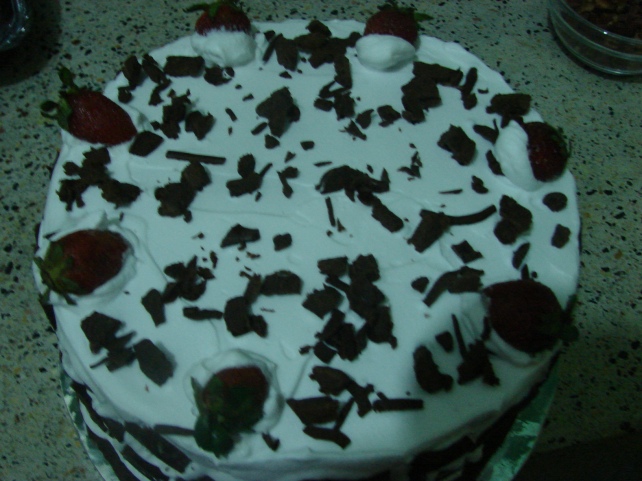
When it comes to putting the chocolate, you can be as creative as you want to be. You can choose to grate the chocolate and sprinkle it all over the cake. If you are in a hurry, like I was, you can cut the chocolate into chunks and stick around the cake. Don’t worry they won’t fall off, the whipping cream acts as the glue.
Decorate the top with smaller pieces of chocolate then make a border on the cake with whole strawberries that are slightly dipped in whipping cream.
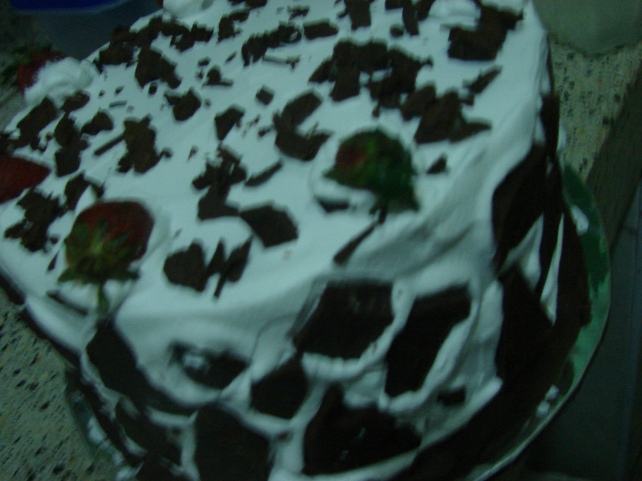
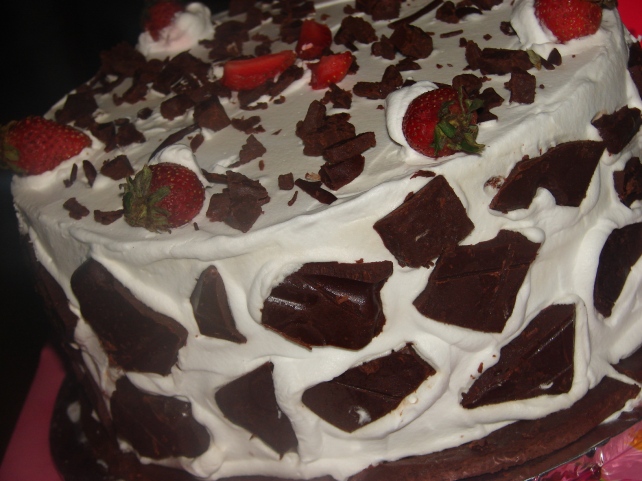
By the way I used homemade chocolate.
The cake looks so huge, I guess it’s a 1.5kg.
When it got to cake time, I was anxious to see how the layers would look. Then the bride to be sliced the cake.
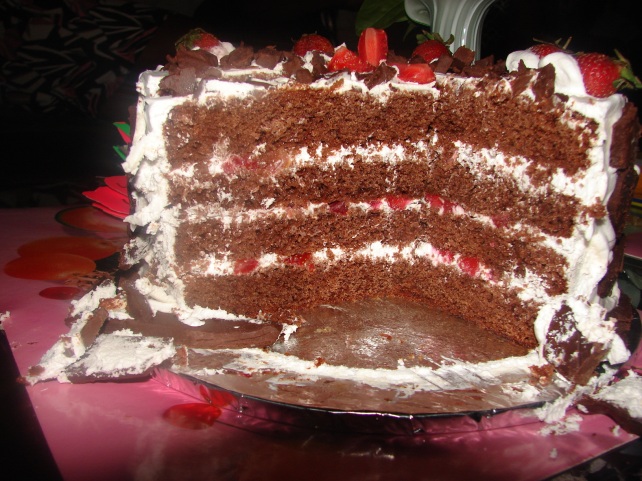
This cake may take long to prepare but, trust me it’s worth the wait. So go on try it out, in case you don’t succeed on the first attempt don’t give up there’s always a second, third or fourth try.

Oh my! This looks absolutely amazing! =D
Aww thank you 🙂
Wow, it must taste as nice as it looks! Someday I will have the courage to bake a cake
Why someday? why not today or tomorrow. Once you try you’ll realise it’s pretty easy. Dare yourself.
This looks great. I doubt i can try that
great taste
thanks love
I want to eat my screen. What!
Let me get this straight. A 1.5 Kg cake came from 220g of flour? I used to think that the flour needed to bake cake was like a bucket full. But if it is just 200g I can now learn how to boil water then upgrade to cooking stuff and then finally baking. I will be eating cake everyday for breakfast.
How much do all these ingredients cost you though?
he he sorry for taking eons to reply, exams!! Anyway don’t eat your screen you can easily make this yourself. It’s amazing how such few ingredients can make such a cake. You generally don’t need a lot of flour to bake a cake. A standard ratio of 2.1.1 that is flour sugar and margarine respectively can yield a 1kg cake. As for the costing,
2kg flour approximately Kshs. 130
2kg Sugar approximately Kshs. 240
The expensive ingredient is the whipping cream, for 1 kg you pay Kshs. 450. The upside is the pack can be used to frost at least 3 cakes.
A pack of strawberries cost me Kshs. 80 you can get them from the leading supermarkets.
The other ingredients like baking powder, vanilla essence and cocoa powder are each under Kshs. 100
As for the eggs each cost me Kshs. 11
I hope I’ve answered your question.
So go ahead, bake some and remember to post some pics.
If you have just implied that I can have a 2kg blackforest cake with under 1000 bob then yes, you have answered my question.
I will get my sister to try this out. She was into home-science because of the cooking. We’ll be having cake daily now.
Thanks
i like your excitement. Remember to post pics of the cake, and be warned it will add some few pounds 🙂
I could definitely use a few extra pounds.
I will post the pictures. Especially if it turns out right.
Awesome.
Hi!
Love your blog. So glad you posted this black forest recipe, I’m going to try it out next weekend, but, where did you get strawberries at sh.80? I’d really like to get those because Nakumatt has strawberries from sh280 upwards. Thanks!
Thanks Varyanne. For the strawberries check Uchumi supermarket. Sadly because of the recent weather patterns there has been a deficiency of strawberries.
[…] Puratos – non dairy whipping cream used here […]
Love the instructions….did you get the cream ready whipped? where did you buy it?
I mostly see the type which you have to whip (carefully with cold containers etc.).
Hey? Thanks. I bought something called Puratos, you can get from a shop on Biashara street called Walibhai. The instructions are on the pack.
Much easier than buying the whipping cream, I have never had success with it.
thanks alot for this ave been looking for the kenyan black forest recipie since i move to us 5yrs ago, za huku hutaste kama sawdust… thankyou thankyou thankyou….. macking this for my fiances bday next week but btwn you n me all eat 70% of the cake…;)
Sawdust? Yuck! All the best baking for your fiance. I know what you mean by eating 70% of it. I’m also a sweet tooth.
i love what am seeing n am encouraged but my gas oven keeps burning the top of my cake making me so discouraged
Hey Cynthia, I know what you mean, sometimes it can be frustrating, A few tips, be sure to be placing the baking tin in the middle of the oven, ensure the temperature is as indicated in the recipe.
[…] because I didn’t get a trifle bowl in time. Using a chocolate sponge cake from my black forest cake recipe I was ready to assemble this glass of […]