
I love reading feedback from my readers and once in a while I also get requests for things you would love to see me make. One such request was from Ciiku who sent me this via my page.
“Hi, I love your blog. I’m tired of supermarket/local brown breads and would like to start making my own. Please make one starting from scratch”
Thank you Ciiku for your request for it pushed me to try out a recipe for homemade brown bread. It took a while for me to actually test this recipe out because I had a hard time finding the wholemeal flour. Months later as I was busy wandering the supermarket aisles I finally found the wholemeal flour.
After my research on brown breads, I learnt that you can choose to combine wholemeal flour with all purpose flour and that is what I did. I am yet to try a recipe with just the wholemeal flour but when I do, I’ll definitely share the recipe.
Another thing is bread making is pretty therapeutic, with all the kneading needed. It’s a cool way of releasing tension while getting a workout 🙂
Just a handful of ingredients needed.

I used milk in this recipe but you can substitute for water in case you are lactose intolerant.
I believe I have shared this before when I posted a how to on pizza dough. Whenever you are working with yeast, active dry yeast to be specific it’s always good to activate it in warm liquid. The liquid should just be warm to the touch, if it’s too hot the yeast will die.
In a huge bowl, I added the warm milk , sugar and the yeast.

Stir it all up.

Let the mixture stand for about ten minutes to activate the yeast. You’ll know the yeast is activated when it is foamy.

Add some salt for seasoning.

And some oil.
 Now the fun part, adding the flour.
Combine the wholemeal together with the all purpose flour and add the mixture into the milk.
Add the flour a handful at a time as you stir with a wooden spoon.
 Do this with all the measured out flour. The dough will be sticky but that is ok.
Transfer the dough onto a clean floured surface and get to kneading. Sprinkle additional flour if needed to reduce the stickiness.

This is where the biceps workout begins. Knead the dough for 7 minutes, I even used a timer to ensure I do the whole 7 minutes. The kneading helps to stretch the gluten in the flour.
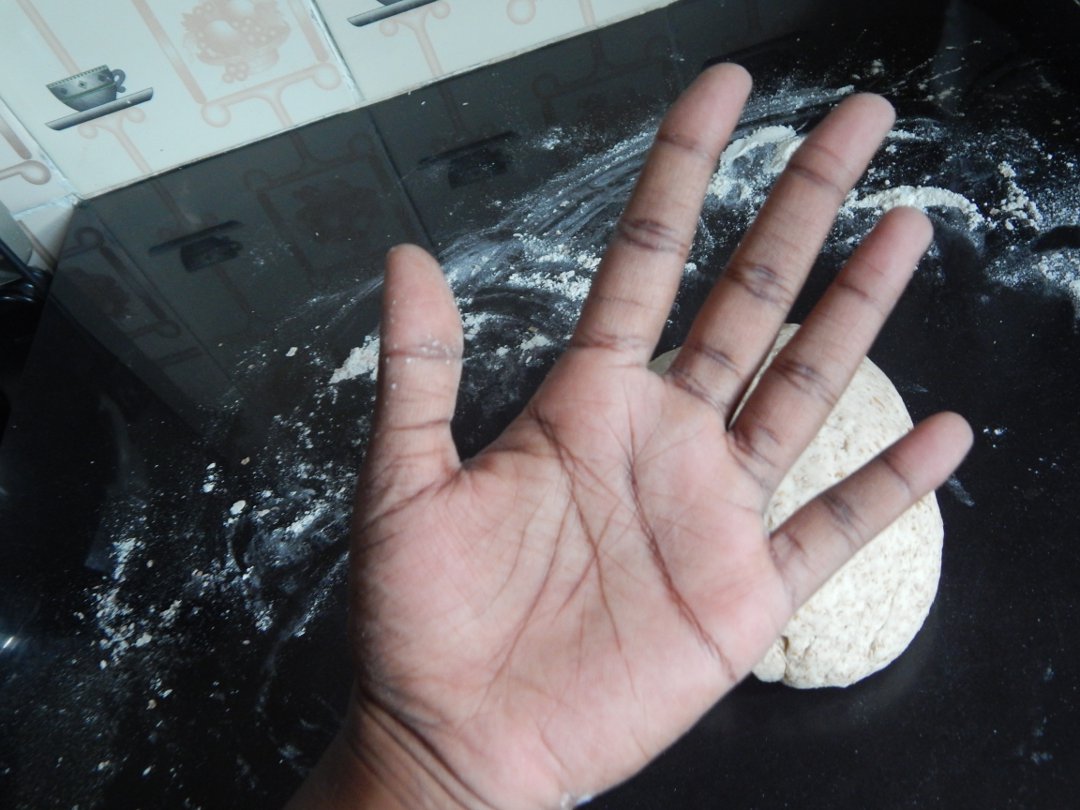
Once done, your hands will look clean and the dough will no longer be sticky.
 Lightly oil a bowl and toss the ball of dough to ensure it is also covered with oil.

Covered with some cling film or a clean clear bag, set the bowl in a warm place with no draft.

Let the dough rise for 1 hour or until it doubles in volume.
After an hour of proofing, the dough has doubled.

Now punch down the dough and shape into a log/loaf to fit your loaf tin.
In a greased loaf tin, put the shaped dough.

 Once more cover the tin and let the dough rise for another 30 -45 minutes or until it has doubled in volume.
I know the waiting time may be long but as the dough is rising you can choose to be making dinner or even relax and watch your favourite program.
This is how my risen loaf looks like.

Now pre heat the oven at 375°F or 190°C.
Brush some little milk over the top of the loaf. You can also use melted butter.

For an aesthetic touch you can use a sharp knife to make some cuts across the top of the loaf.
Bake at the same temperature for 40-45 minutes or until the bread is risen and golden brown in colour.
To test if the bread is cooked, tip the loaf onto a cooling rack and tap the base of the bread, if it sounds hollow then it is done.

 Leave the bread to cool.
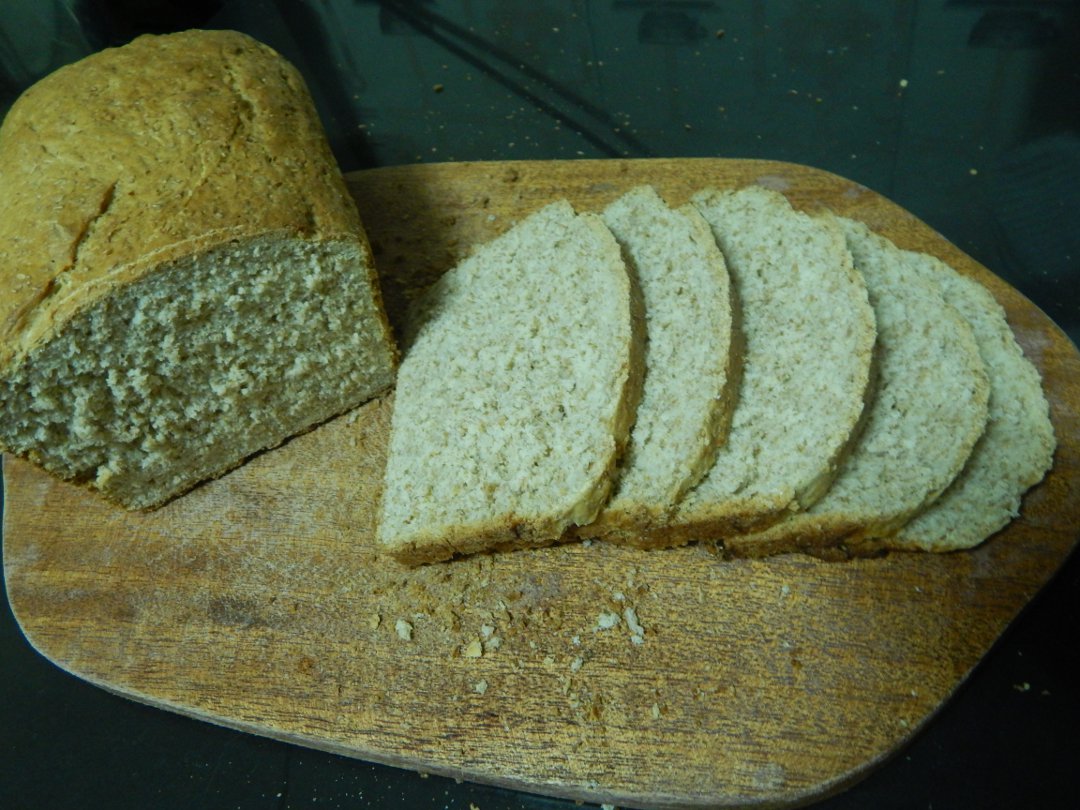
Once cool, slice it up and enjoy as if or with your favourite spread.

Such a welcome change from the store bought bread and might I add the aroma that fills your house when baking this baby, nothing short of amazing.
So what are you waiting for? Bake some bread, delicious and you are a hundred percent sure of what is in it.
 Thank you Ciiku for the request.
What recipe would you love to see me make?
Homemade Brown Bread
- 2 cups whole milk, lukewarm (reserve a tablespoon for brushing over the bread)
- 1 tablespoon sugar
- 3 teaspoons active dry yeast
- 1 teaspoon salt
- 2 tablespoons oil, I used sunflower
- 2 cups all purpose flour
- 2 1/2 cups wholemeal flour
- A little flour for kneading if needed
Instructions
In a large bowl, combine the milk and sugar.
Sprinkle over the yeast and stir.
Let the yeast mixture stand for 10 minutes or until foamy.
Add the salt and oil into the yeast mixture and combine.
Combine the flours.
A handful at a time add and combine the flour with the yeast mixture until sticky.
Onto a clean floured surface knead the dough, sprinkling little flour if needed.
Knead for 7 minutes until the dough is no longer sticky.
Once kneaded, form the dough into a ball and put the dough in a lightly oiled bowl and oil the top of the dough.
Cover with cling film and place the bowl in a warm place with no draft and let the dough rise for 1 hour or until doubled in volume.
Once risen, punch out the dough and form into a loaf.
Place the loaf into a lightly oiled loaf tin.
Cover and let it rise for 30 - 45 minutes.
Once risen, brush the top of the loaf with some milk.
In a pre heated oven, bake the loaf at 375 degrees F or 190 degrees C for 40 -45 minutes, until risen and golden brown.
Remove from the oven and tip onto a cooling rack.
The bread is cooked if you tap the base of the bread and it sounds hollow.
Leave to cool.
This is a great recipe post Jess, love it!I am not a fan of bread but will definitely try this recipe. Looks healthy , yummy and filled with the warmth of a fresh bake.
Thank you Carol.
I totally get you on the bread thing, I am also not a fan but for sure nothing beats homemade bread.
What brand of yeast do you use? Is there a specific way to store yeast?I’ve been finding that the longer I store yeast the longer it takes for it to work. At times I’ve been having to leave the dough rising overnight.
I have also experienced that with yeast. The longer it stays when opened the longer it takes to activate. I recently discovered some yeast that is packed in sachets thus one sachet is enough for two loaves. I’ll check the brand. I’ll also make a small info post about handling yeast.
Wow…thanks for the recipe very easy to follow….no more store bought breads!!!
I have always wanted to make my own bread instead of buying, will definitely give this a try. Thanks
Welcome Linda.
I am a big fan of baked goodies especially pastries and meat dishes, though for the pastries they take quite some time coz of the rising of the dough. I have a couple of bread dishes on my blog, you can totally check them out, and thanks for this recipe.
FOODIES: http://tastiedine.com/2017/03/24/moist-banana-bread/
Hi Cheptoo
I also enjoy baked goodies. I’ll visit your blog.